Monday, May 28, 2012

Starting Guitar Number 3

I finally started work on guitar number three this weekend.  When I ordered the supplies from LMI, I decided to make use of their "kit wizard".  This lets you select all the parts and gives you a 15% discount on the tonewood, a 10% discount on other materials and a 60% discount on shop services.  With that much of a discount on shop services, I spent the extra money to have them bend the sides and slot the fretboard for me.
I also purchased a pre-made rosette this time. I still have one left over from the first two guitars, but I wanted something nicer this time.  


For this guitar, I found some nice flame maple on eBay for the top. It's not big enough for a full-sized guitar, so I'm building a parlor sized guitar instead.


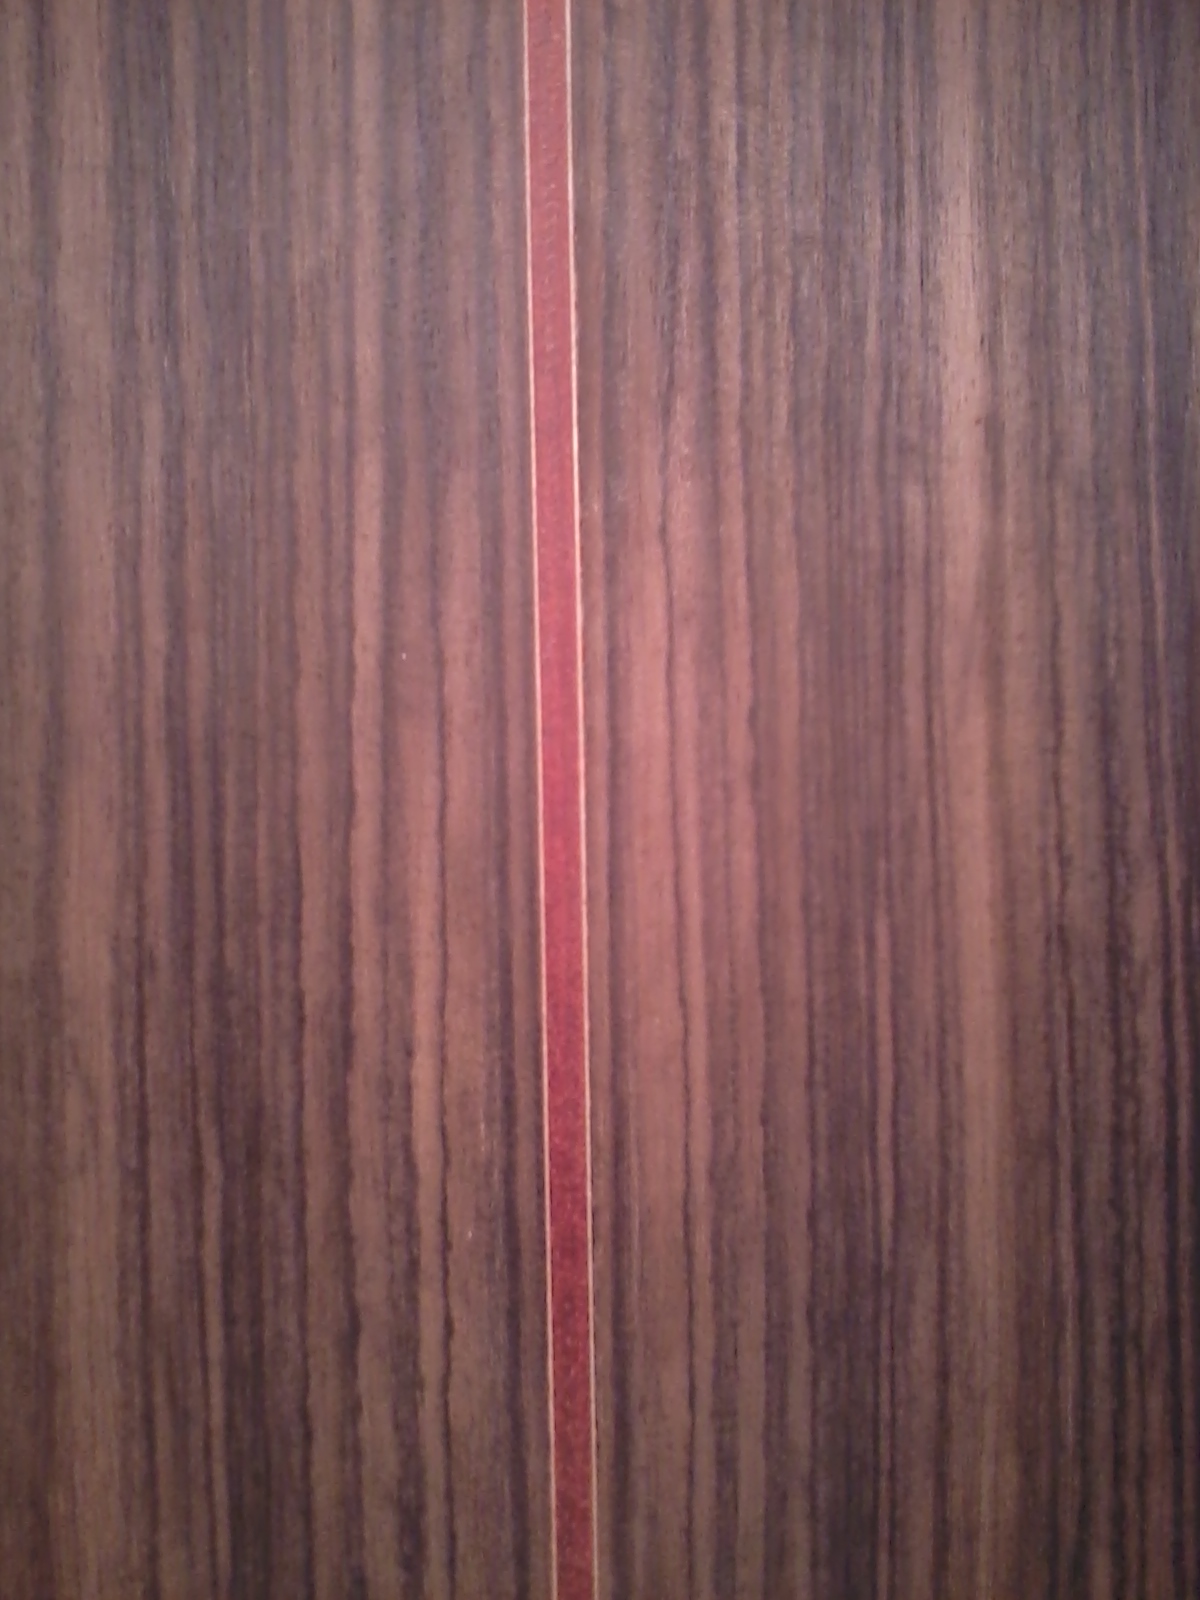
I'm also inlaying a bloodwood back stripe this time and the bindings are also bloodwood.  


I'm sticking with zircote for the fretboard and bridge.  Although I ordered a pre-made bridge, I didn't read it right and got a steal string bridge instead of a classical.  So I'll have to order another bridge or a zircote blank and make my own.  Bridges aren't that hard to make, so I'll probably just order a blank.

Saturday, May 26, 2012

Guitar Number Two

I forgot to blog anything about my second guitar build.  I managed to avoid the mistakes that I made on the first one but made some new ones this time. 

Serial Number 0002

  • Top: Sitka spruce
  • Back and Sides: Rosewood
  • Neck: Maple
  • Fretboard: Zircote
  • Bridge: Zircote
The rosette is the same as on the first guitar.

I was really happy with how this guitar was turning out until I went to glue on the bridge. I had masked off the bridge area with tape while shellacing the top.  When I removed the tape and double-checked the distance to the bridge, it was off by half an inch. I knew that if I tried to shellac the unfinished area it wouldn't come out looking right.  I had some more of the burly maple veneer that I used on the first guitar, so I cut a piece and glued it over the unfinished area.

So it looks kind of funny but, hey, it adds character, right?

Then I went to string it up and discovered that the neck was crooked. You can see it if you stand back or if you sight down the neck. I drilled a 7th string hole in the bridge and just shifted all the strings over one.

The finish came out beautiful on this one.  The French polishing technique is a lot of work, but the results look great.

So now I have to build a third guitar.  I'm going to keep doing this until I get it right.